Program Amazing Graphics for the Commodore 64 with These Tutorials
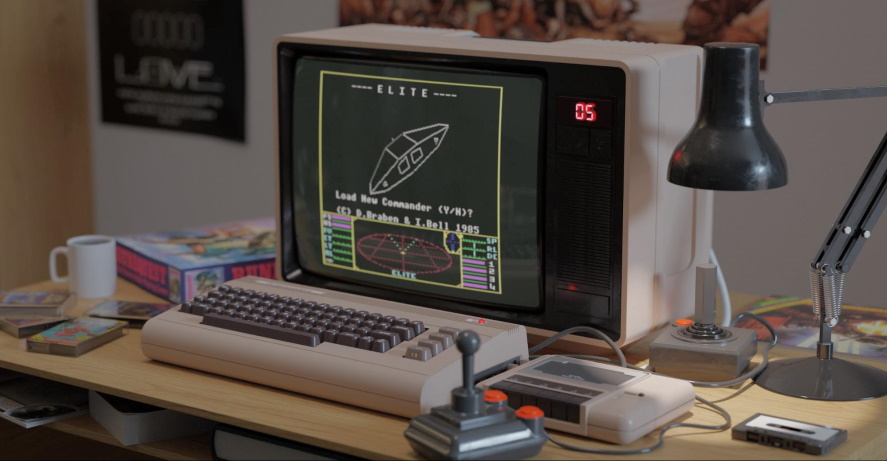
The Commodore 64 was a popular home computer system in the 1980s, known for its versatility and affordability. It was also well known for its graphics capabilities, which made it a popular platform for gaming and digital art. If you’re interested in, then you can get started with program amazing graphics for the commodore 64 with these tutorials.
Understanding the Commodore 64 Graphics System
Before you can start creating amazing graphics for the Commodore 64, you need to understand how the system works. This tutorial will teach you the basics of the Commodore 64’s graphics system, including how to access the screen memory, how to set the colour palette, and how to draw pixels and lines.
Creating Simple Graphics
Once you understand the basics of the Commodore 64 graphics system, you can start creating simple graphics. This tutorial will show you how to create basic shapes, such as circles, rectangles, and triangles. You’ll also learn guide to programming graphics for the commodore 64colour palette to add colour to your graphics.
Creating Sprites
Sprites are small images that can be moved around the screen independently of the background. They’re a key element in many Commodore 64 games, and learning how to create them is an important part of mastering the system’s graphics capabilities. This tutorial will teach you how to create and animate sprites using the Commodore 64.
Creating Backgrounds
Backgrounds are the images that form the static part of the screen in many Commodore 64 games. They’re often created using a technique called “tile-based” graphics, where a small number of graphical elements are repeated to create a larger image. This tutorial will teach you how to create tile-based backgrounds using the Commodore 64’s graphics capabilities.
Creating Special Effects
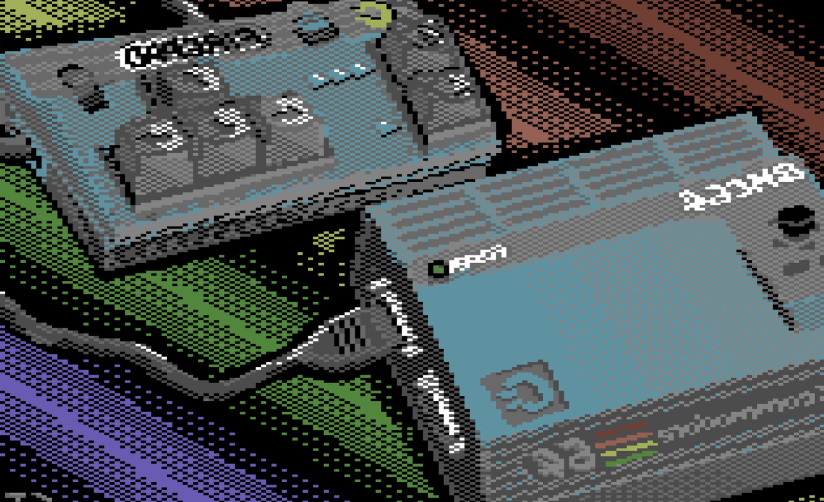
Once you’ve mastered to create nostalgic commodore 64 graphics with these easy tutorials for the Commodore 64, you can start experimenting with special effects. This tutorial will teach you how to create effects such as scrolling, parallax scrolling, and animation. These effects can add a lot of visual interest to your graphics, and they’re a key element in many Commodore 64 games.
Creating amazing graphics for the Commodore 64 is a rewarding and challenging process.Whether you’re interested in creating games or digital art, the Commodore 64 is a great platform to explore, and these tutorials are a great place to start.


