Make Your Danish Casino Stand Out With Eye-Catching Graphic Design
The vibe and environment of casinos are something that attracts gamblers to play their online gambling games. In addition, you should make your Danish casino stand out with the eye-catching graphic design.
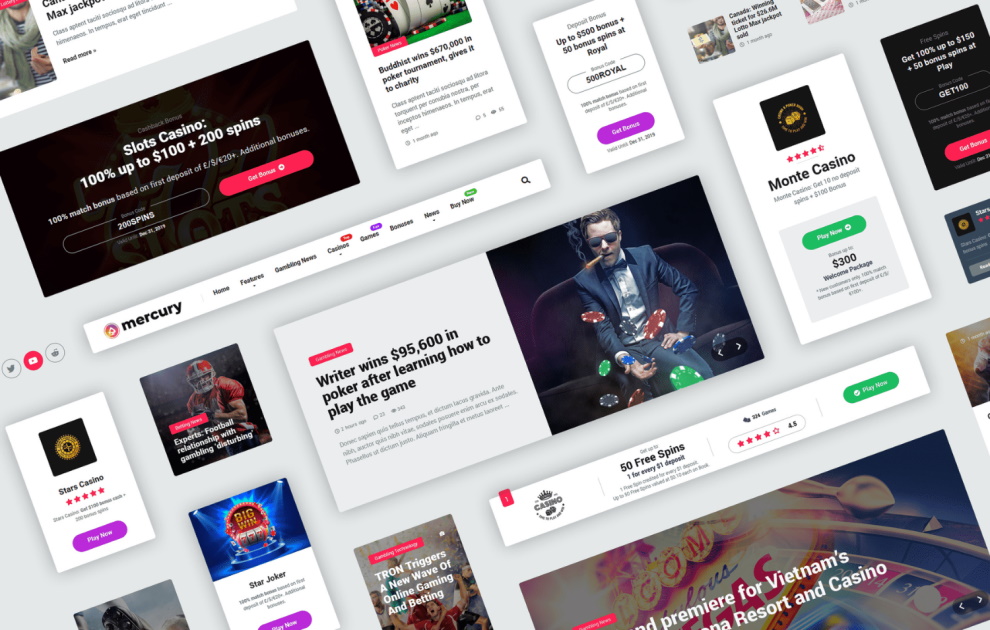
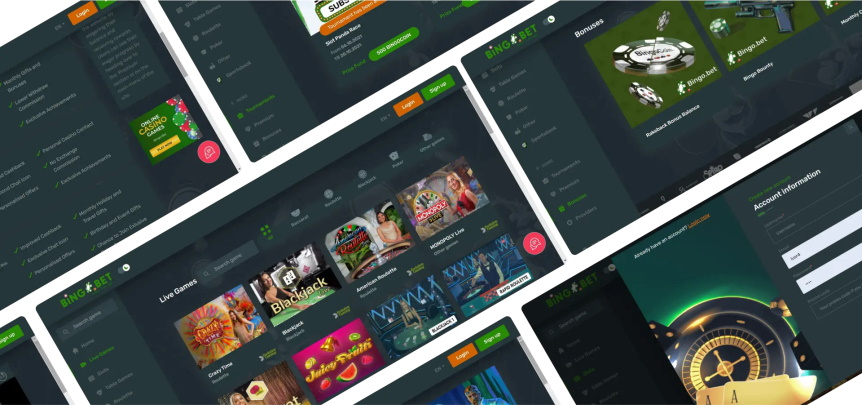
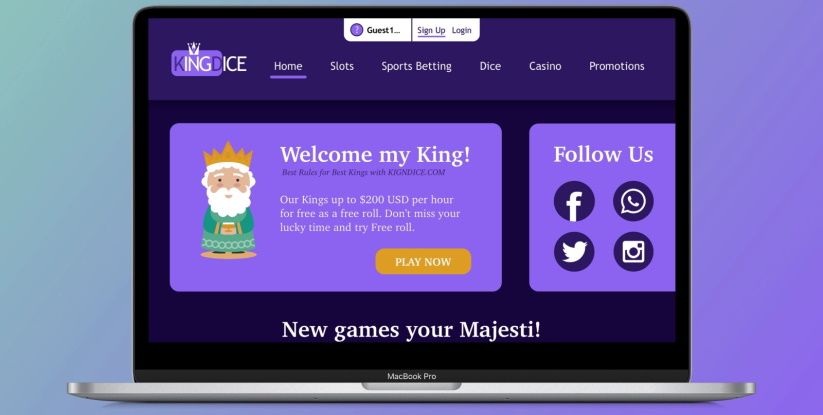
It is worth to invest in innovative and trending designs in order to give a great look to the casino. The reason is that today people are attracted by the look of the casino, and if you present them with something unique, they will for sure consider your platform to play their favorite game.
Use Various Colors
Several casinos in Denmark choose several colors for the rugs in various places, such as:
- The walls
- The gaming tables
- The floor
Colors create a great environment in the casino and make it refreshing for all gamblers. In addition, the interior décor of a casino platform incorporates several colors, including:
- Black
- Purple
- Red
- Brown
- Blue
These colors are used to make a pleasant and positive ambiance so that players will feel good while playing lucrative gambling games. In addition, slot machines are aligned in long rows in the form of a typical casino platform. Machines in the rows that are placed in the middle rows come with soft green and light blue colors.
How Can Graphic Design Revolutionize the Danish Casino Industry?
There are many reasons today casinos offer great graphic designing to provide a great experience to gamblers. The best thing is that graphic designing is beneficial for both the players and the developer of the casino. In addition, graphic design is time and cost-effective, which means developers don’t need to spend more money in order to give a lucrative and attractive look to the casino that leads to attracting more gamblers.
Another thing is that people will get more entertainment and enjoy the game with the graphic design in the casino games. This way, more players consider playing various casino games and getting a chance to win massive amounts of money. Moreover, it is the power of graphic design to create engaging casino experiences in Denmark. Players are more likely to feel productive and satisfied in a casino platform with an elegant and amazing graphic design. According to the expert in Denmark, there is several design techniques are used by a number of casinos. Many casinos that come with great graphic designing games earn more money than other platforms.


